Notes
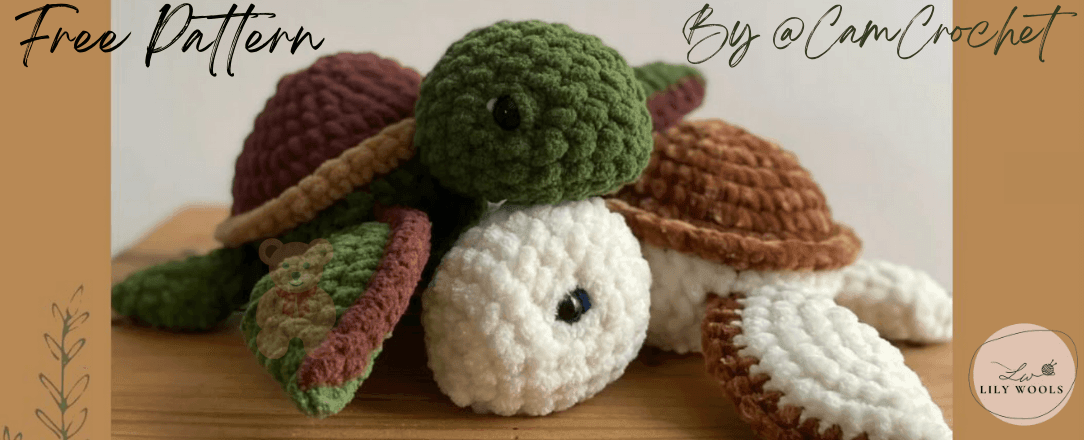
This pattern is made by @camccrochet. Don't hesitate to visit and subscribe to her Instagram account to discover her amazing creations.
Do not sell, redistribute or take credit for this pattern. Please tag or credit @camccrochet if you use it :)
You may sell the finished items as long you credit @camccrochet as the creator of the pattern.
This pattern is written US terms and works in continuous rounds.
Thank you and happy crocheting !
—---------------------------------------------------------------------------------------
Materials
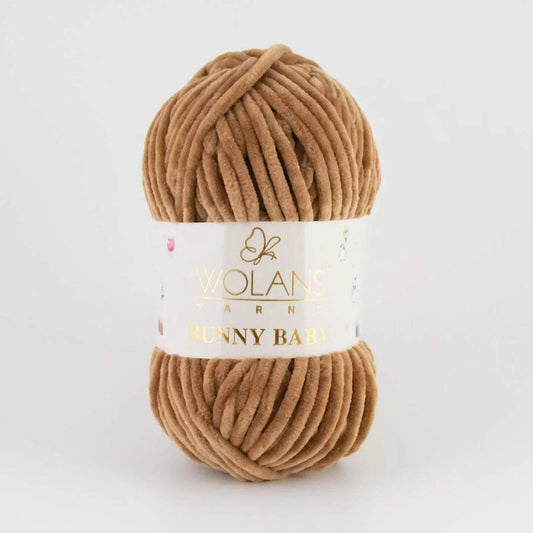
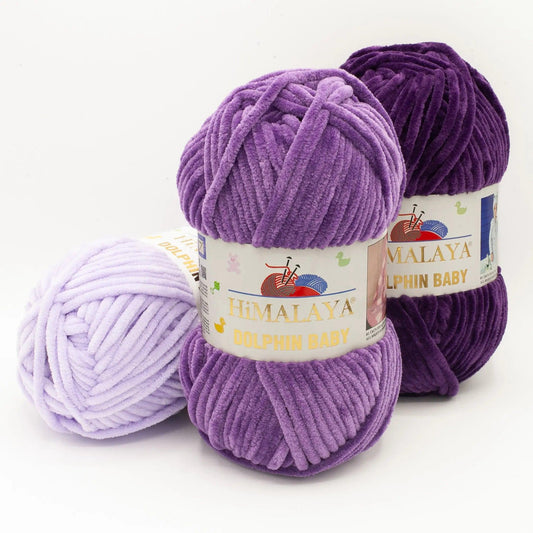
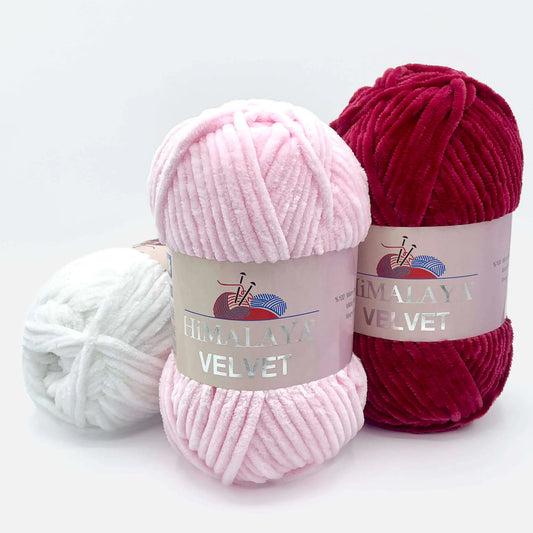
- You can for example use Chenille yarn, Himalaya VELVET or Himalaya DOLPHIN BABY
- Brown for the shell (90037 or 80337)
- White for the body and fins (90001 or 80301)
- Crochet hook (4mm)
- Safety eyes (I used 10mm)
- Stitch marker
- Scissors
- Stuffing
- Needle for sewing
Abbreviations
- MR : magic ring
- CH : chain
- SC: single crochet
- HDC: half double crochet
- DC : double crochet
- TR : triple crochet
- FLO: front loops only
- BLO : back loops only
- INC: increase (2 stitches in one stitch)
- DEC : decrease (crochet 2 stitches together)
- SLST : slip stitch
—---------------------------------------------------------------------------------------
Head
(In white)
1 : 6 SC in MR (6)
2 : 6 INC (12)
3 : (1SC, INC) x 6 (18)
4 : (2SC, INC) x 6 (24)
5-8 (4 rows) : SC around (24)
9 : (2SC, DEC) x6 (18)
Place safety eyes between rows 5 and 6 with 7/8 stitches between them.
Stuff the head.
10 : (1SC, DEC) x6 (12)
11 : DEC x 6 (6)
Fasten off and leave a long tail for sewing.
—---------------------------------------------------------------------------------------
Fins
Front fins (Make 2)
(In white)
1 : 6 SC in MR (6)
2 : 6 INC (12)
3 : (1SC, INC) x 6 (18)
4 : (2SC, INC) x6 (24)
5 : (3SC, INC) x6 (30)
6 : (4SC, INC) x6 (36)
Change color to brown.
Fold in half and close with 17 sc. Fasten off and leave a long tail for sewing.
Do not stuff the fin.
Back fins (Make 2)
(In white)
1 : 6 SC in MR (6)
2 : 6 INC (12)
3 : (1SC, INC) x 6 (18)
4 : (2SC, INC) x6 (24)
Change color to brown. Fold in half and close with 11 sc.
Fasten off and leave a long tail for sewing.
Do not stuff the fin.
—---------------------------------------------------------------------------------------
Shell
(In brown)
1 : CH 5
2 : (work in the 2nd stitch from the hook) : 2INC, 2SC, 4SC in one stitch.
Continue on the other side of the chain with : 2SC, INC (12)
3 : (1SC, INC) x6 (18)
4 : (2SC, INC) x6 (24)
5 : (3SC, INC) x6 (30)
6 : (4SC, INC) x6 (36)
7 : (5SC, INC) x6 (42)
8 : 16 SC, 2 HDC, 2 DC, 1 TR, 2 DC, 2 HDC, 17 SC (42)
9 : SC around in FLO (42) Mark the back loop of the first stitch you work with a stitch marker. It will help for the next row.
SLST on the first SC of the row and cut the yarn.


—---------------------------------------------------------------------------------------
Shell
Attach white yarn in the back loop that you marked in the previous row. CH 1 (Do not count this stitch in the next row)
10 : SC around in the back loops of the previous row (42)
We are going to create the tail and the spaces for the fins in the next row.
11 : 4SC, CH 5, skip 5 stitches, 5SC, CH 4, skip 4 stitches, 3SC, TAIL (white yarn), 3SC, CH 4, skip 4 stitches, 5SC, CH 5, skip 5 stitches,
4SC (42)
12 : (5SC, DEC) x6 (36)
13 : (4SC, DEC) x6 (30)
TAIL : CH 4, skip one stitch and work in the 2nd stitch from the hook: 1SC, 1 HDC, 1 DC, SLST in the SC you start the chain


—---------------------------------------------------------------------------------------
Shell
Insert the fins in the body and sew them with a needle in the back loops of the chain (row 11) and the back loops of the stitches we skipped (row 10).
Front fins at the front and back fins on each side of the tail.
14 : (3SC, DEC) x6 (24)
15 : (2SC, DEC) x6 (18)
Stuff the body.
16 : (1SC, DEC) x6 (12)
17 : DEC x6 (6)
Fasten off and weave the end.

—---------------------------------------------------------------------------------------
Face shaping
With white yarn, insert your needle from below the head in the middle (1) and come out at the upper corner of the right eye (2). Reinsert the needle at the bottom corner of the eye
(2) and bring out under the chin (1). Leave a stitch between the entrance and the exit to tie a knot.
Pull the two threads to form the face and tie a knot. Weave the ends.


—---------------------------------------------------------------------------------------
Face shaping
Insert your needle at the back of the head (1), come out at the upper corner of the eye (2) and reinsert at the bottom corner of the eye (3). Go a second time between point 2 and 3 then go back to point 1 and tie a knot.
Weave the ends.

Do the same for the left eye.
Sew the head to the body.
—---------------------------------------------------------------------------------------
Congratulations
You just finished your Carla the turtle !
I hope you enjoyed making her.
Don't forget to tag @camccrochet :)


